In this edition of our Hanu How-To series, you’ll find best practices for optimizing your SQL Server performance in Microsoft Azure Virtual Machines.
While running SQL Server in Azure Virtual Machines, we recommend that you continue using the same database performance tuning options that are applicable to SQL Server in on-premises server environment. However, the performance of a relational database in a public cloud depends on many factors such as the size of a virtual machine, and the configuration of the data disks.
Requirements
Configuring Azure Virtual Machines for Optimal Storage Performance
- Attach the maximum data disks allowed for the virtual machine size. Data disks should always be the maximum allowable size (one terabyte).
- Plan for a separate single storage account for each high I/O Azure virtual machine (40 VHDs per storage account).
- Set stripe size to 64 KB for OLTP workloads and 256 KB for data warehousing workloads to avoid performance impact due to partition misalignment.
- Caching policy: Enable read caching on the data disks hosting your data files and TempDB only.
Procedure
Disk Striping
1. Launch “Server Manager” and navigate to “File and Storage Services.”
2. In “File and Storage Services”, navigate to “Storage Pools.” In Storage Pools,” create two storage pools: one for data pool and for other log pool.
3. In Physical disks section, you will be able to see the list of disks you attached to the virtual machine.

4. Click on “Tasks” and select “New Storage Pool.”

5. In the “New Storage Pool” screen, click on “Next” and enter the Storage Pool name as “Data Pool.”
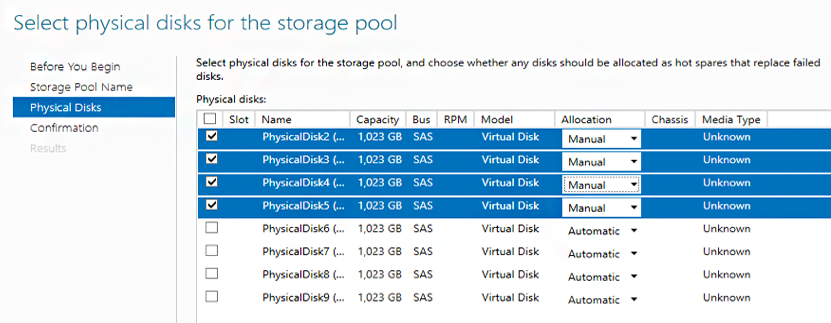
6. While selecting Physical disks for the storage pool, evenly distribute the disks for data and log disks. You can select the disks based on the requirement as well. There is a minimum of two disks required to create striped volume. In this example, we divided the disks equally and selected four disks.
- Make sure the allocation unit is changed from Automatic to Manual and click on “Next.”
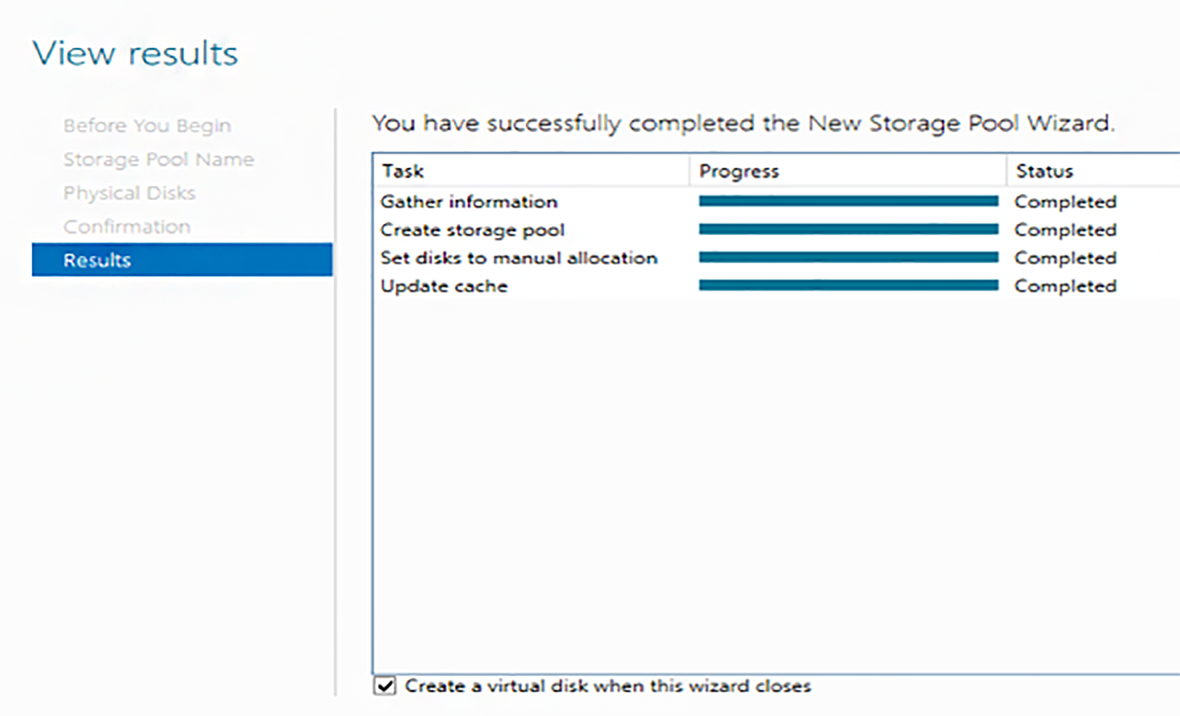
7. In the Confirmation screen, review the configuration and click on “Create.” Once the creation is complete, make sure to check “Create a Virtual Disk When the Wizard Closes.”
Virtual Disk Creation
1. In New Virtual Disk Wizard, provide the Virtual disk name “Data Disks.”
2. In Physical Disks selection, make sure to select all four disks.

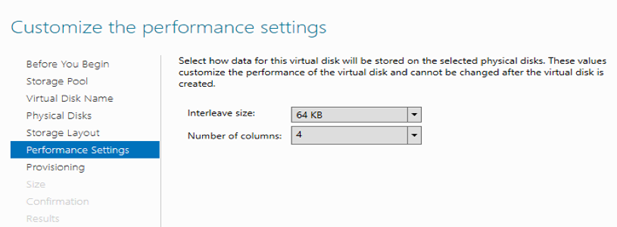
4. In the Performance settings, select “Interleave Size” as 64 KB and total number of columns is equal to the maximum number of disks for that volume. In our case it will be “4.”
5. In the Provisioning screen, select the type as “Fixed. For Size, select it as “Maximum Size.”
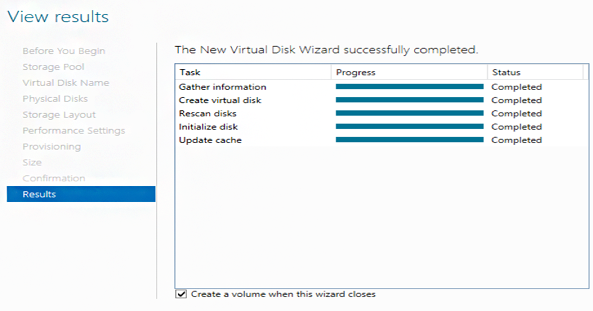
6. Review the confirmation and click on Create.
Volume Creation
1. In the Server and Disk screen, make sure all the disks are populated.
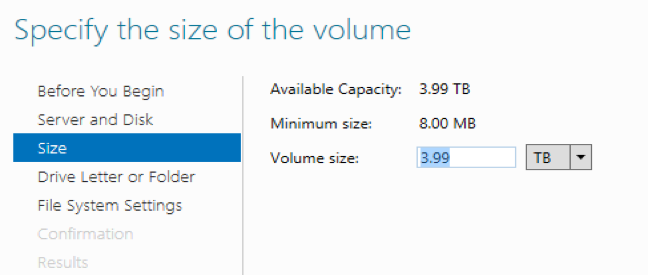
2. In the Size screen, select your desired size. In this example, the maximum size has been chosen.
3. Assign the desired drive letter based on your requirements.
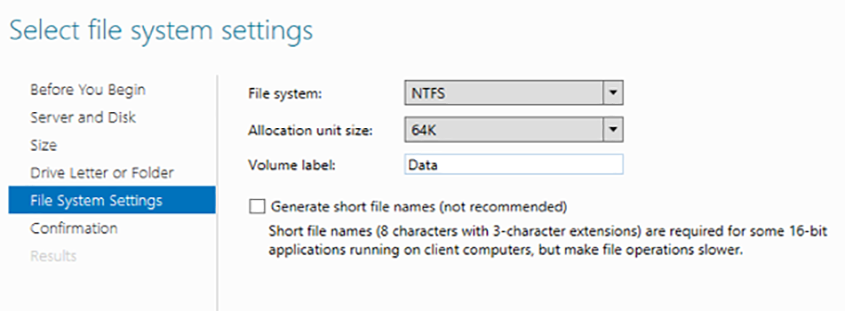
4. In the File System Settings screen, select “64KB” as the Allocation Unit Size and fill in your Volume Label.
5. Review the configuration and click on “Create.” This will create the volume and you will be able to access it through Windows Explorer.
Follow the same steps to create log volume:
- Create Log Storage Pool.
- Create Virtual Disk
- Create Volume


